Epoxy flooring prep basics matter more than almost any other part of an installation, and every experienced Nashville contractor will tell you the same thing: the coating itself is rarely what fails first. When an epoxy floor peels, bubbles, or delaminates within the first year or two, the root cause is almost always inadequate surface preparation, not a defective product.
Understanding what proper prep actually involves - and why cutting corners here is the single most common mistake in DIY and budget installations alike - helps Nashville property owners ask the right questions before hiring a contractor, whether the project is a garage floor or a full commercial space.
Why Surface Prep Determines Epoxy Success in Nashville
Epoxy doesn't just sit on top of concrete the way paint does - it needs to mechanically and chemically bond to the surface, which requires a specific surface texture called a concrete surface profile, or CSP. Without the correct profile, epoxy has nothing to grip onto, and even a premium coating product will eventually fail regardless of how carefully it's applied.
Nashville's concrete presents a few specific challenges that make proper prep especially important locally. Much of the area's concrete is poured dense and hard-troweled, which actually makes it harder for coatings to bond without aggressive mechanical preparation, and older slabs frequently carry existing sealers, curing compounds, or oil staining that need to be fully removed before a new coating goes down.
Diamond Grinding vs Acid Etching
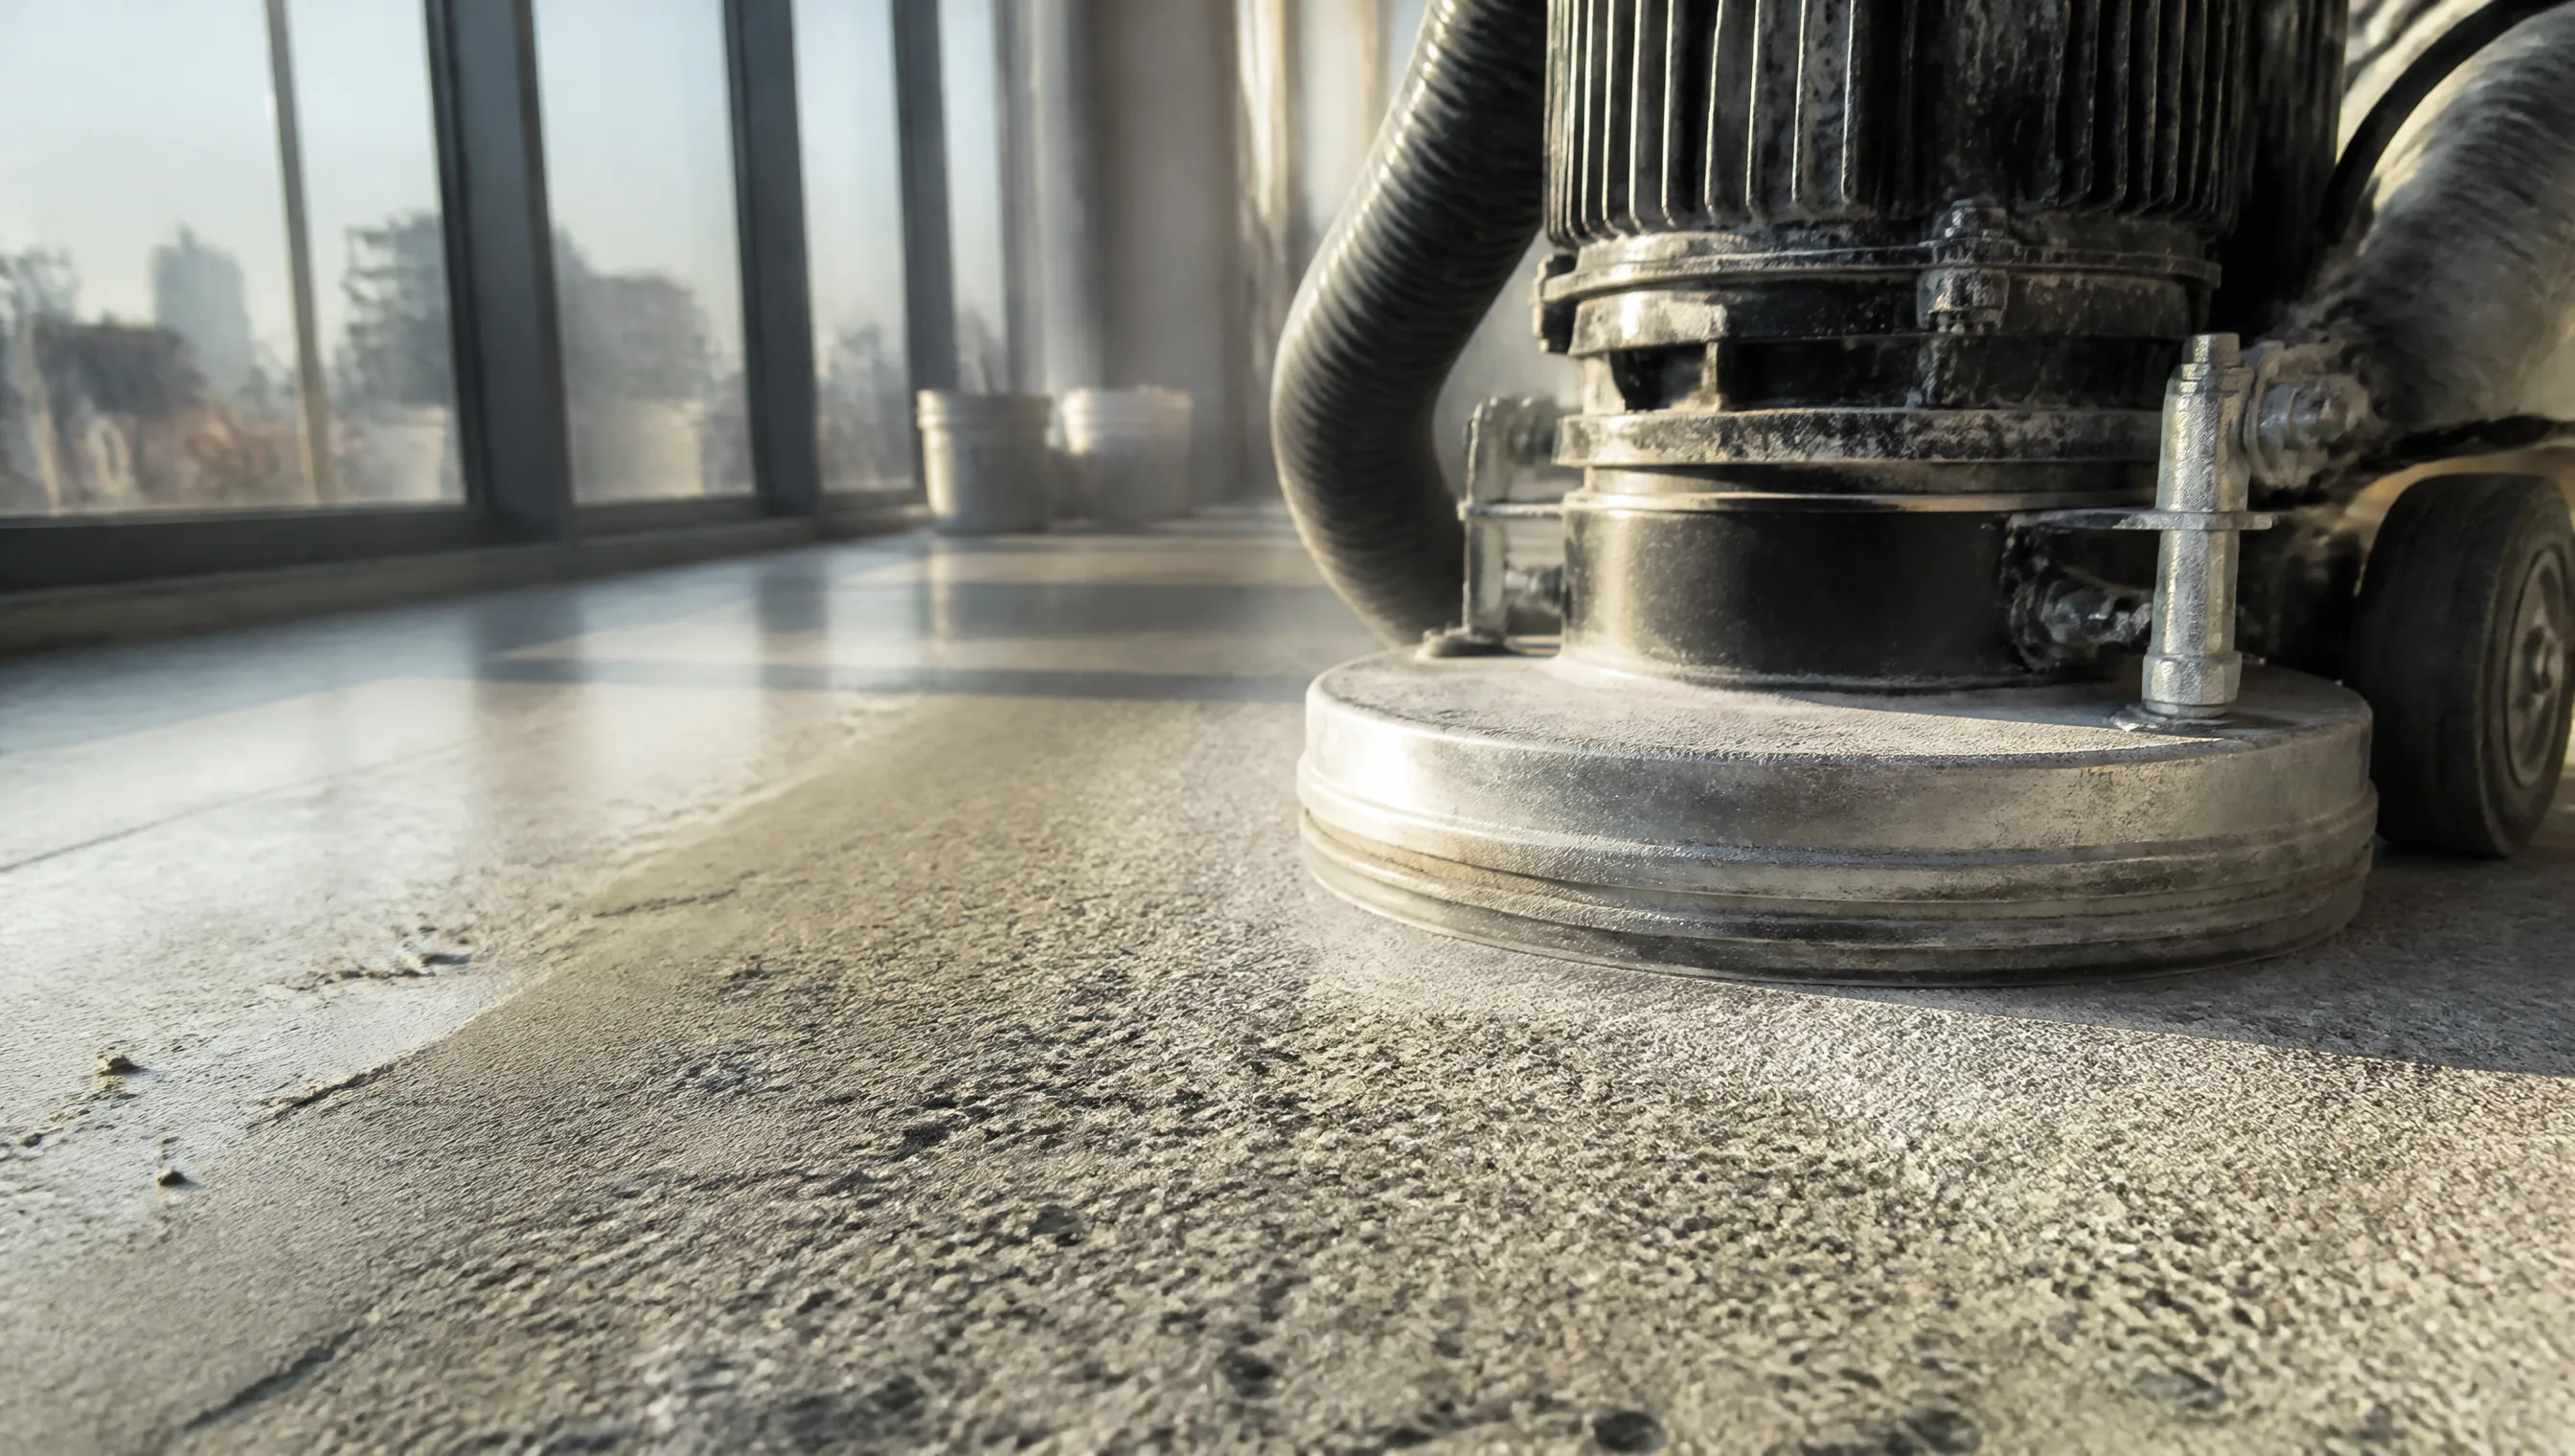
The two most common surface preparation methods are diamond grinding and acid etching, and the difference between them is one of the biggest factors separating a professional installation from a shortcut job. Diamond grinding uses mechanical diamond-segmented tooling to remove the top layer of concrete and create a consistent, aggressive surface profile ideal for epoxy adhesion.
Acid etching, by contrast, uses a diluted acid solution to chemically roughen the surface. It's cheaper and faster, which is why it remains common in DIY kits and budget installations, but it produces a far less consistent profile and does nothing to remove existing sealers, coatings, or deep contamination from the slab.
| Factor | Acid Etching | Diamond Grinding |
|---|---|---|
| Surface profile consistency | Inconsistent | Highly consistent |
| Removes existing sealers/coatings | No | Yes |
| Effective on dense, hard-troweled concrete | Often inadequate | Effective |
| Typical use case | DIY / budget kits | Professional installation |
For Nashville's dense, hard-troweled concrete specifically, acid etching frequently fails to create an adequate profile, which is a major reason professional installers overwhelmingly specify diamond grinding for any coating expected to last more than a couple of years.
Crack Repair and Moisture Vapor Testing
Two additional prep steps matter as much as the grinding method itself: crack repair and moisture vapor testing. Cracks in the slab need to be routed out - widened slightly along the crack line - and filled with a flexible epoxy or polyurea crack filler before coating. Skipping this step means the crack will very likely telegraph through the new coating and reappear as a visible line on the finished surface.
Moisture vapor testing matters even more in Nashville specifically, because the region sits on dense clay soil that retains moisture and transmits it upward through concrete slabs over time, especially in slabs poured directly on grade without an adequate vapor barrier. Excess moisture vapor pushing up through a slab causes epoxy failure - bubbling, delamination, a milky haze under the coating - even when the surface looks completely dry to the naked eye.
Don't skip this on grade-level slabs: Basements, garage floors on grade, and ground-floor commercial spaces in Nashville are the most common candidates for moisture-related coating failure. A calcium chloride or relative humidity probe test before coating is inexpensive insurance against a much more expensive redo.
What a Quality Nashville Prep Job Looks Like
Putting it all together, a properly prepped Nashville floor should go through a consistent sequence before any coating is applied.
If you're planning a residential garage project specifically, our step-by-step guide to preparing your Nashville garage for epoxy walks through this same sequence at a smaller scale, and our garage floor prep steps post covers the DIY-adjacent version of these same principles for homeowners tackling their own project.
A contractor who can clearly explain their grinding equipment, crack repair method, and moisture testing protocol before quoting a job is a strong signal of quality - and conversely, a quote that skips straight to coating without mentioning any of these steps is worth asking hard questions about. For a broader look at why epoxy floors sometimes fail prematurely regardless of installer, see our roundup of common epoxy flooring myths in Nashville.
See our epoxy flooring Nashville page for our full installation process, including the exact grinding equipment and moisture testing protocol we use on every project.
Warning Signs of a Bad Prep Job Before It's Too Late
Because the effects of poor surface prep aren't always visible immediately after installation, it helps to know what to look for during the process itself, before the coating is fully applied and the mistake is baked into the finished floor.
- No visible dust extraction during grinding: professional diamond grinding equipment is paired with a vacuum shroud; a contractor grinding without dust containment is either using inadequate equipment or skipping steps
- Skipping moisture testing entirely: if a contractor never mentions moisture vapor testing, especially on a grade-level slab, that's a red flag worth asking about directly
- Rushing straight from grinding to coating: proper prep includes a full vacuum and sometimes a tack-cloth pass to remove fine dust; coating over dust residue weakens the bond significantly
- No visible crack repair on a slab with obvious cracking: if you can see cracks in the existing concrete and the contractor doesn't address them before coating, expect those same cracks to reappear in the finished floor
- A quote that seems unusually fast or cheap: proper surface prep takes real time and specialized equipment; a quote that skips straight to material and labor for the coating itself, with no separate line item for prep, is worth questioning
Asking a potential contractor to walk through their specific prep process - what equipment they use, whether they test for moisture, how they handle existing cracks - before signing a contract is one of the most effective ways to avoid a costly redo down the line. A contractor confident in their process will typically welcome these questions rather than deflect them.
DIY Prep vs Hiring a Professional
Some property owners consider handling surface prep themselves to save money, particularly for a smaller residential garage project. This is possible in some cases, but it comes with real tradeoffs worth understanding before committing to the DIY route.
For a smaller residential project where the stakes and square footage are both modest, a careful DIY approach following our garage prep guide can work reasonably well. For anything larger, or any space where moisture is a real concern given Nashville's clay soil, professional prep is worth the investment relative to the cost of redoing a failed floor.